Apr 13
24  How to use Apple’s SF Mono font in your editor
At WWDC 2016, Apple unveiled a brand new font which was called San Francisco. The font went on to become the default font in macOS and iOS, replacing Helvetica (which replaced Lucida Sans). On watchOS, a special Compact variant of San Francisco, was used.
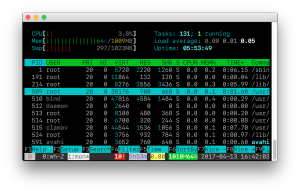
Later, Apple introduced yet another variant, a monospaced variant, which I think simply looks fantastic – especially on a high-resolution display like the MacBook. It has gone and replaced my previous favourite monospace font, Anonymous Pro.
Weirdly enough, the fonts are not available for selection in macOS, you just can't use San Francisco for editing a document in Pages, for example.
Currently, though, the standard and Compact versions of San Francisco is available on Apple's developer portal, but unfortunately the monospaced version is not.
Fortunately, if you have macOS Sierra, the version is included inside the Terminal.app in macOS.
Here's how you extract the font from Terminal.app and install it on your computer so you can use it in your text editor, for example:
- Go to Terminal.app's resources folder:
- Right click the Finder icon in the Dock
- Click 'Go to Folder...'
- Enter this path: /Applications/Utilities/Terminal.app/Contents/Resources/Fonts
- Click Go
- You'll see a list of fonts in the folder.
- Select all of the fonts in the folder.
- Right click on them and click 'Open'
- A window will pop-up previewing the font. Click Install Font.
- You'll perhaps get a window that says there's problems with the fonts. I did too.
- Go ahead and click 'Select all fonts'
- Click 'Install Checked'
- You'll get another dialog
- Click 'Install'
- Font Book will show the new font as installed. You'll now be able to select the SF Mono font in your editor. ?
Here's a GIF of the whole process:

